Project: Making a Wheelchair Tray
Online shopping is great. I’m always amazed at the little must-haves I find for little repairs or hobby projects that it turns out a lot of other people also needed to buy. Just this week I bought a replacement hard drive and adapter to upgrade the older computer I’m typing this entry with right this moment. It was perfect and affordable.
The same kind of success story doesn’t always happen with wheelchair accessories like lap trays.
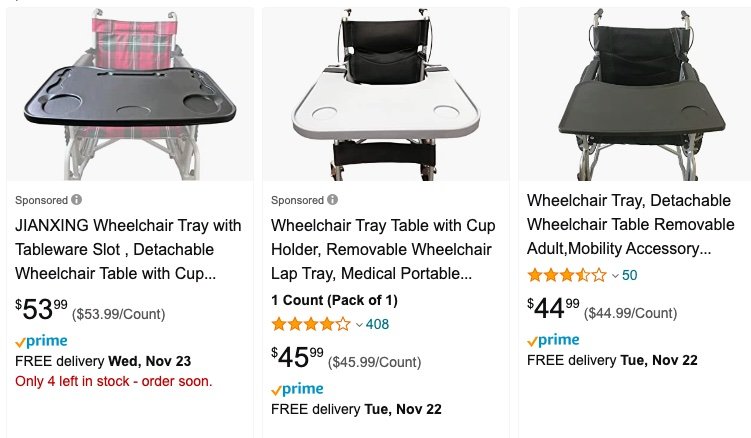
I guess these look okay. But if you’re taking bets in your head about how long they’ll last, maybe they’re not okay.
My son’s school wanted to have a wheelchair tray for class. That sounded good, but we only have one and we definitely use it at home as well. I didn’t want to send our only tray back and forth to school, and ordering a second one from the wheelchair manufacturer was certain to cost a lot. Looking online resulted in many options…for adults. The results also seemed obsessed with cup holders, whereas I wanted something smooth so things wouldn’t catch and tip as easily.
Plus, for a price range of $30-$50 each, shouldn’t we get the exact kind of tray we need? For the same cost I could build one, so that’s what I did.
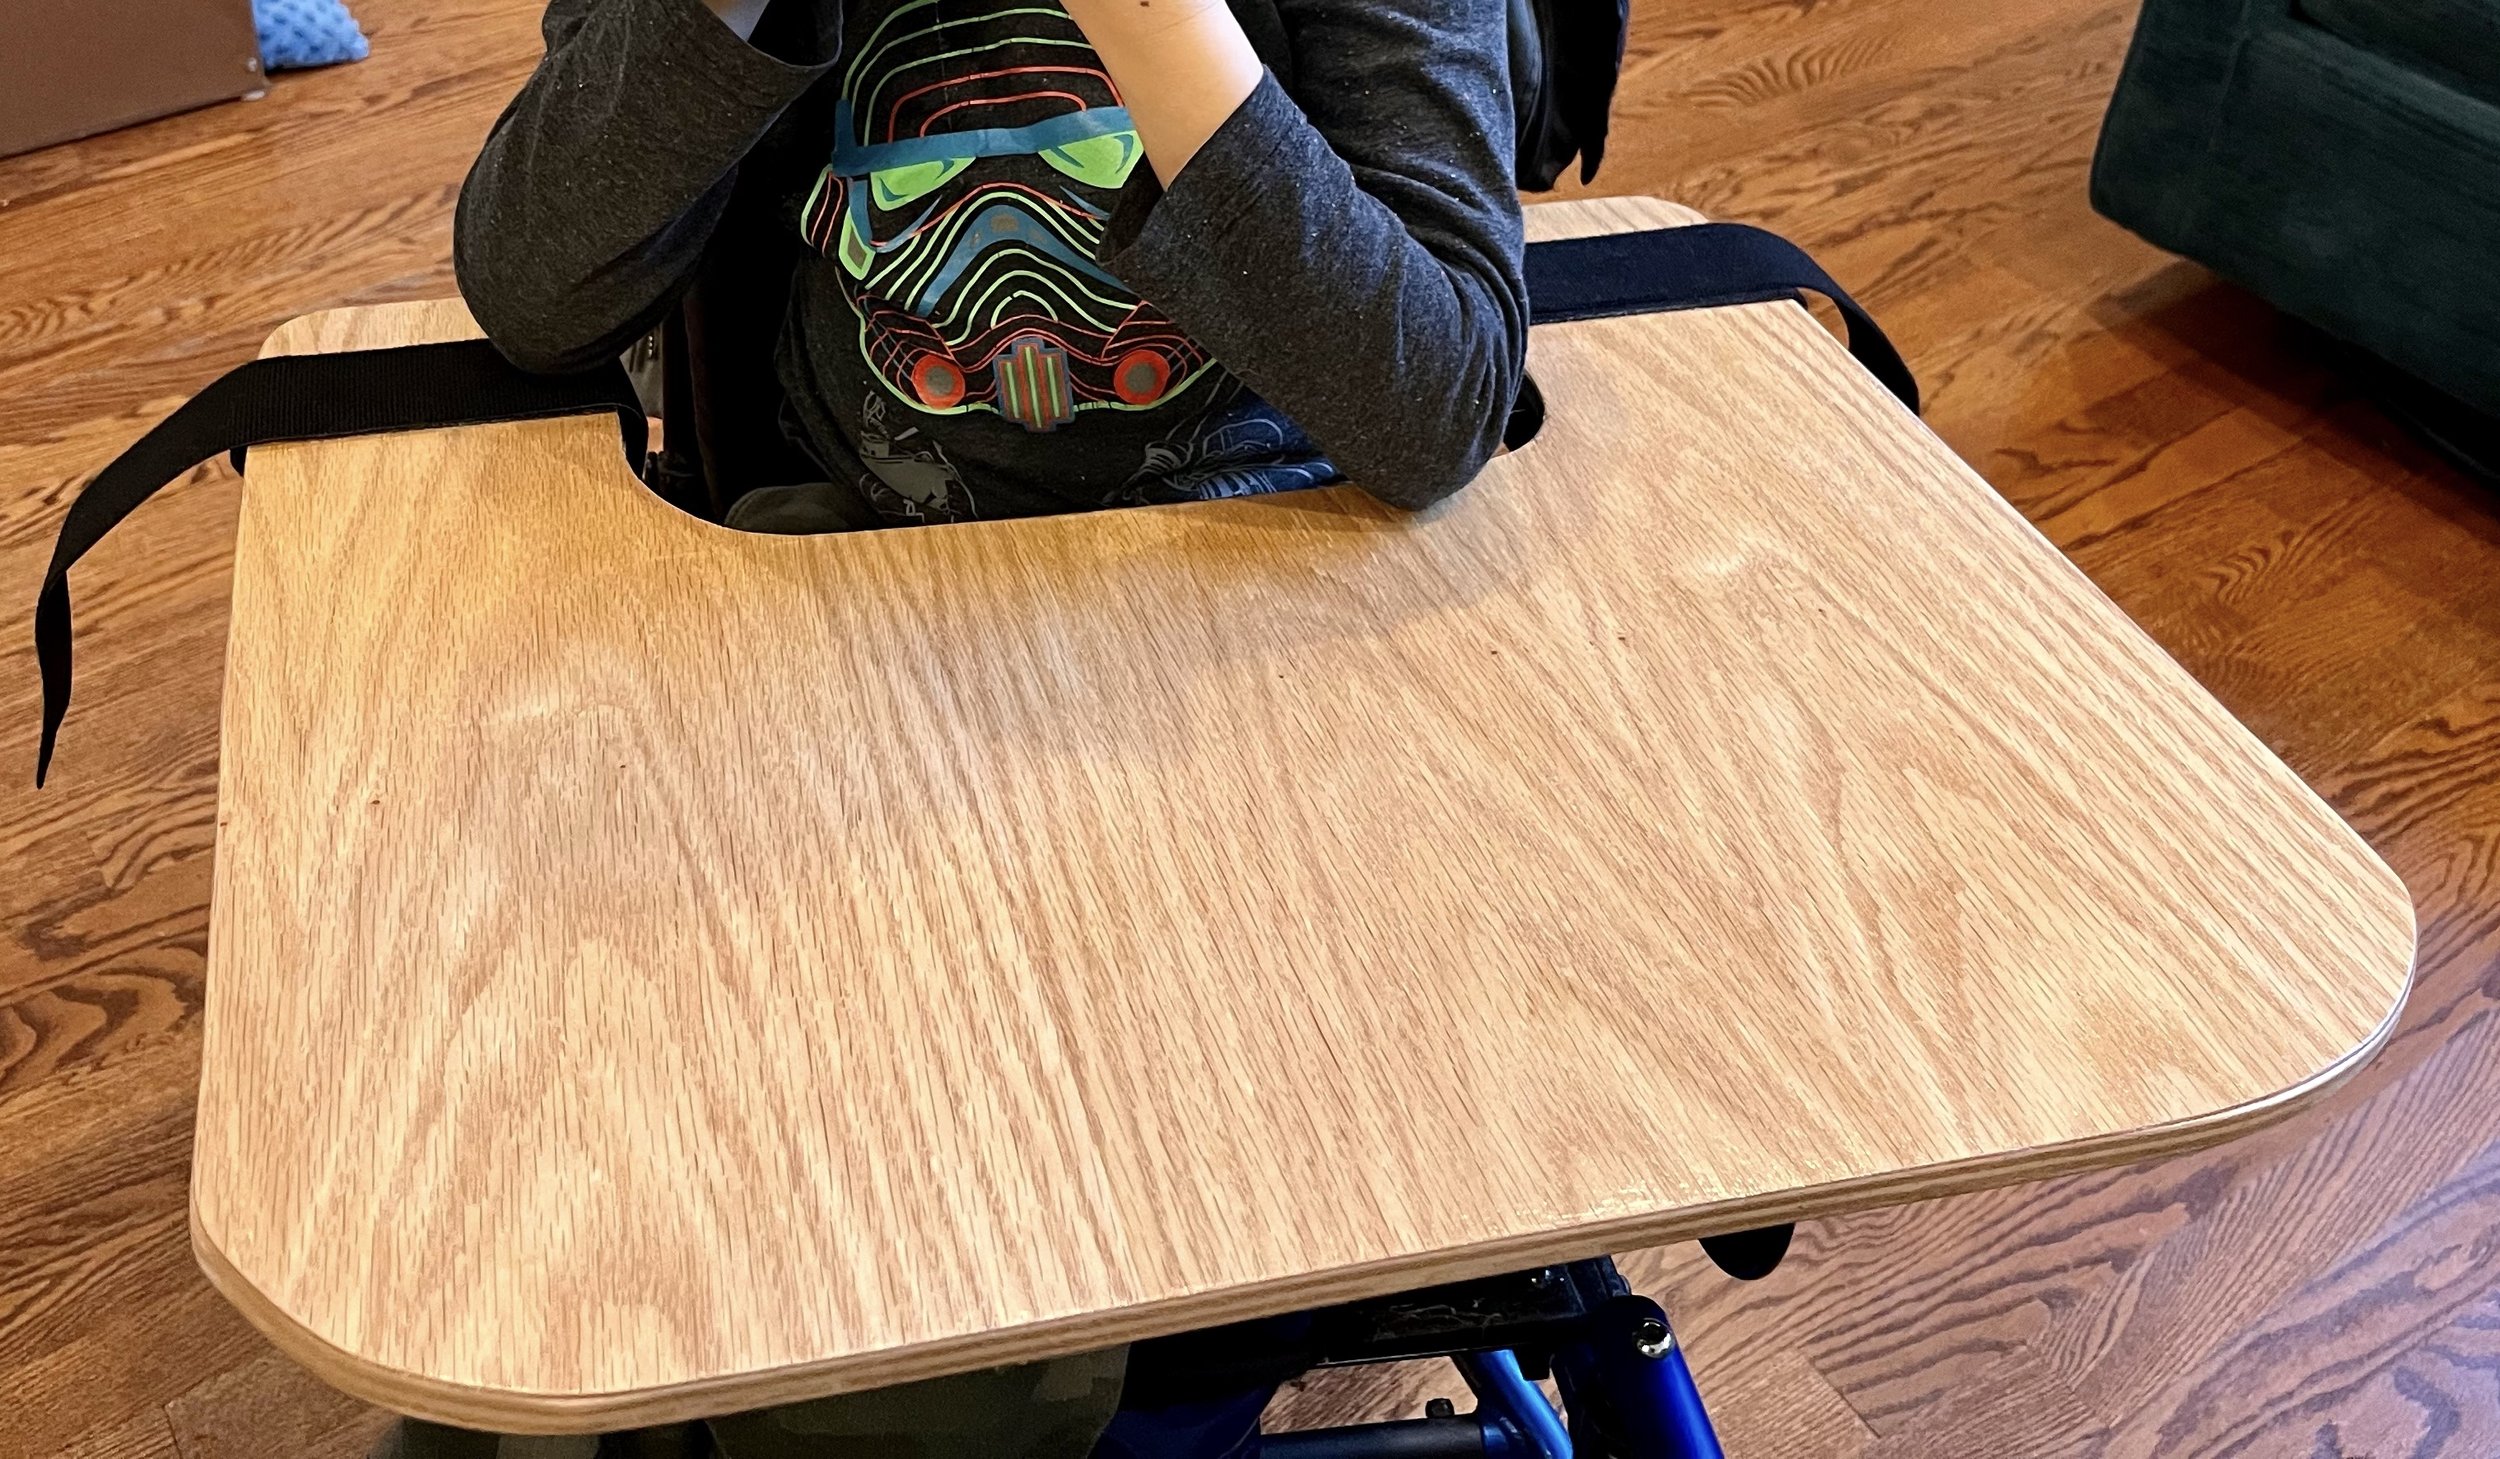
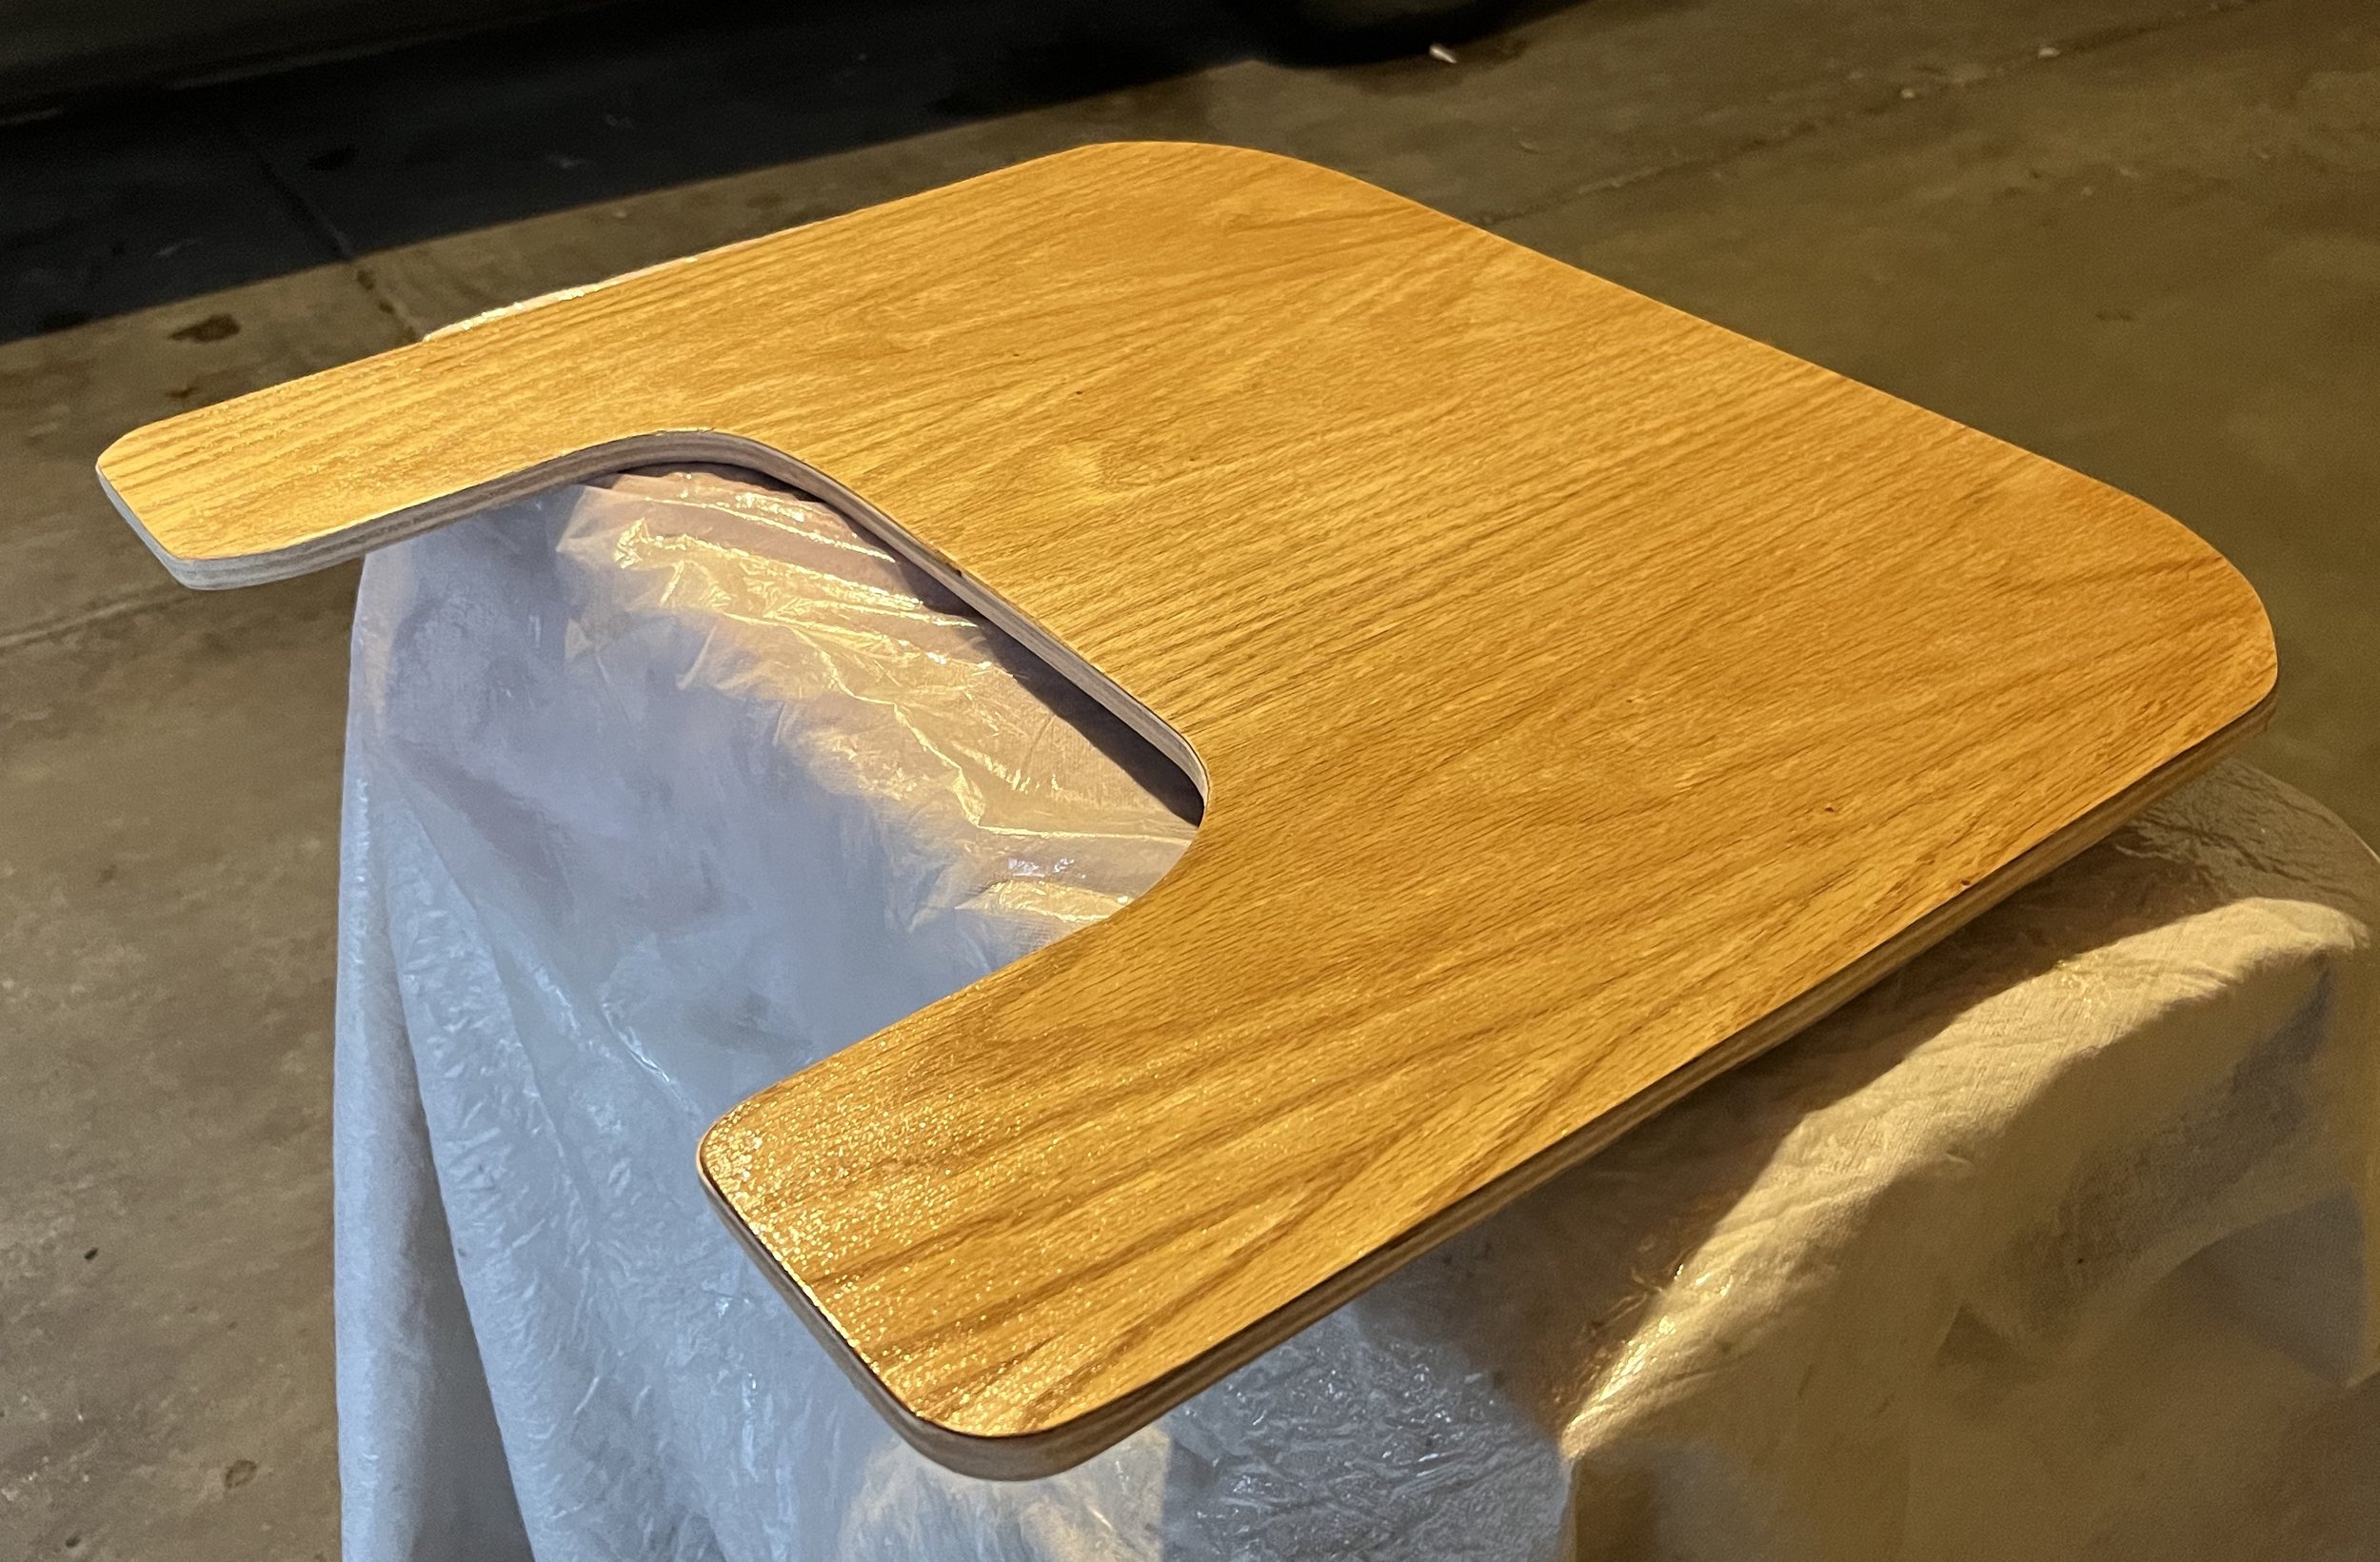
A close-up of the final product.
Materials
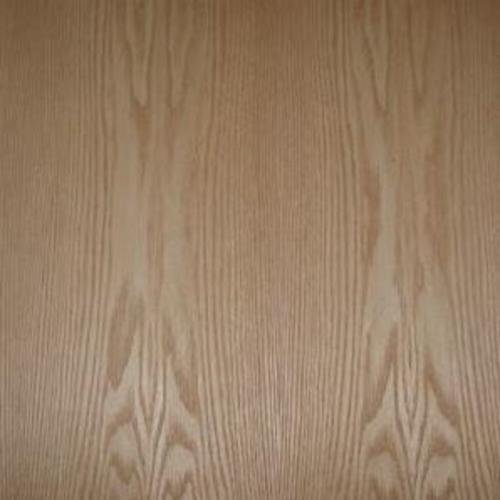
Since I was making a tray for a child, I picked up a 2-foot by 2-foot piece of oak plywood, 1/2-inch thick. This size of panel could also work with most adult-size chairs, but you can also use a 2 x 4-foot panel if needed. Either way, anything thinner than a half inch may warp over time. The oak is fancy enough that the tray will look very nice once finished and not cheap like other types of plywood or even particle board.
The other major pieces of the tray are the Velcro straps that must be attached on each side to wrap around the armrests of the wheelchair.
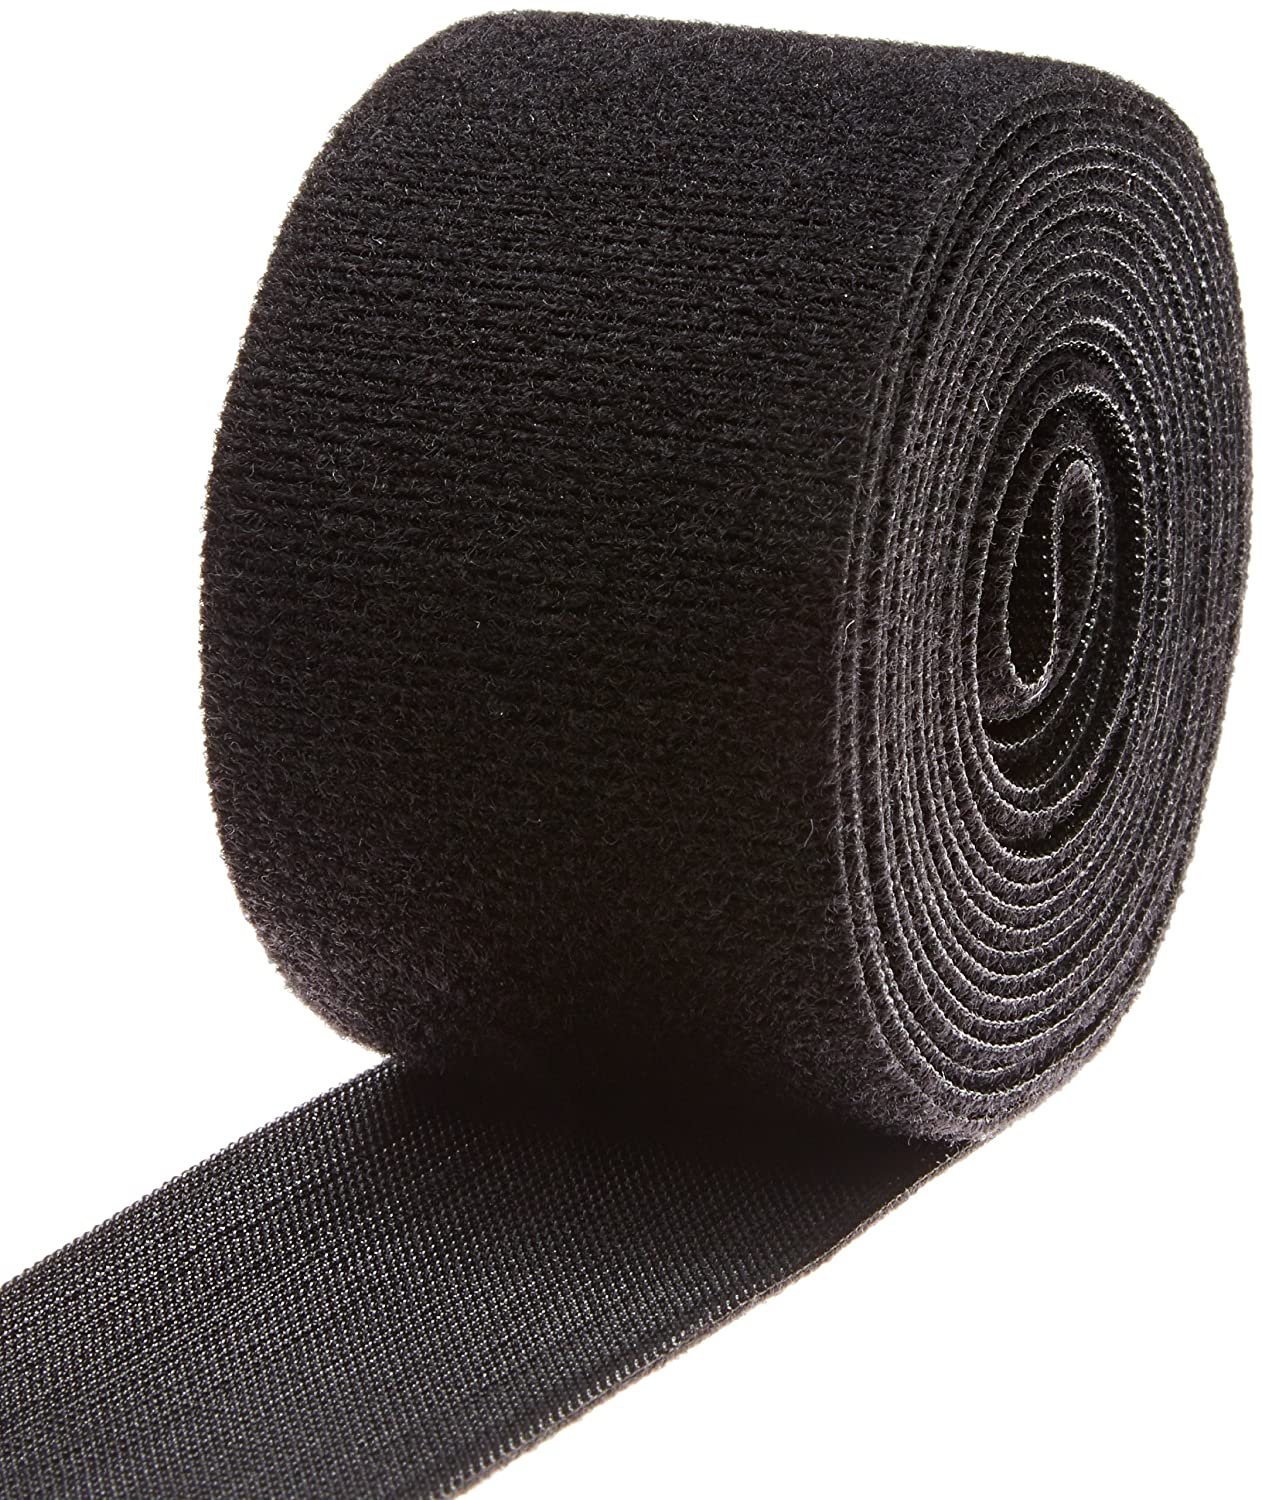
Special, 2-inch wide double-sided wrap Velcro.
The type of Velcro I used is a kind for wrapping around items to bundle them together, like cables or rods. It can attach to itself without twisting or sewing a patch facing one direction with straps facing the other.
Other Materials
Jigsaw with a “fine” rated blade
Fine sandpaper (220 grit is good)
Sanding block or power orbital sander
Carpenter’s square
Pencil
Drafting compass
Tape measure
Polyurethane (Water-Based), liquid clear gloss
Foam brushes
Very strong glue, like epoxy adhesive
Plastic sheeting or a garbage bag
Paper bag (grocery bag or lunch bag)
Design
Decide on the width and depth of your tray. I personally cheated and just traced my son’s existing tray. Another good cheat would be to place the board on top of the wheelchair armrests you plan to use the tray on and decide how wide and long it should be.
For reference, here is the original tray shape I copied and its dimensions. Again, this is a child’s tray.
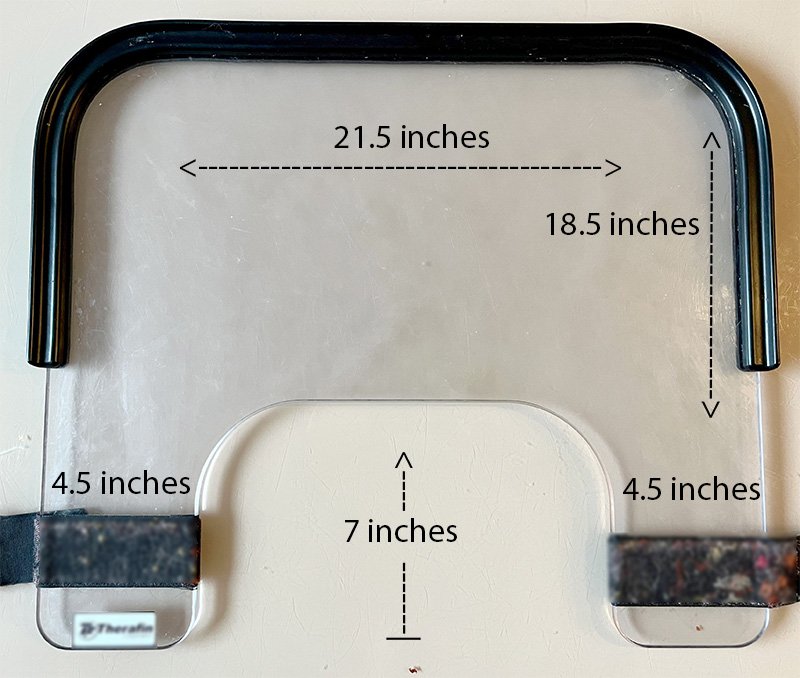
Dimensions for my existing child-size wheelchair tray.
For adult dimensions, you could upsize a little wider and deeper. Here is an example of adult dimensions that I found…
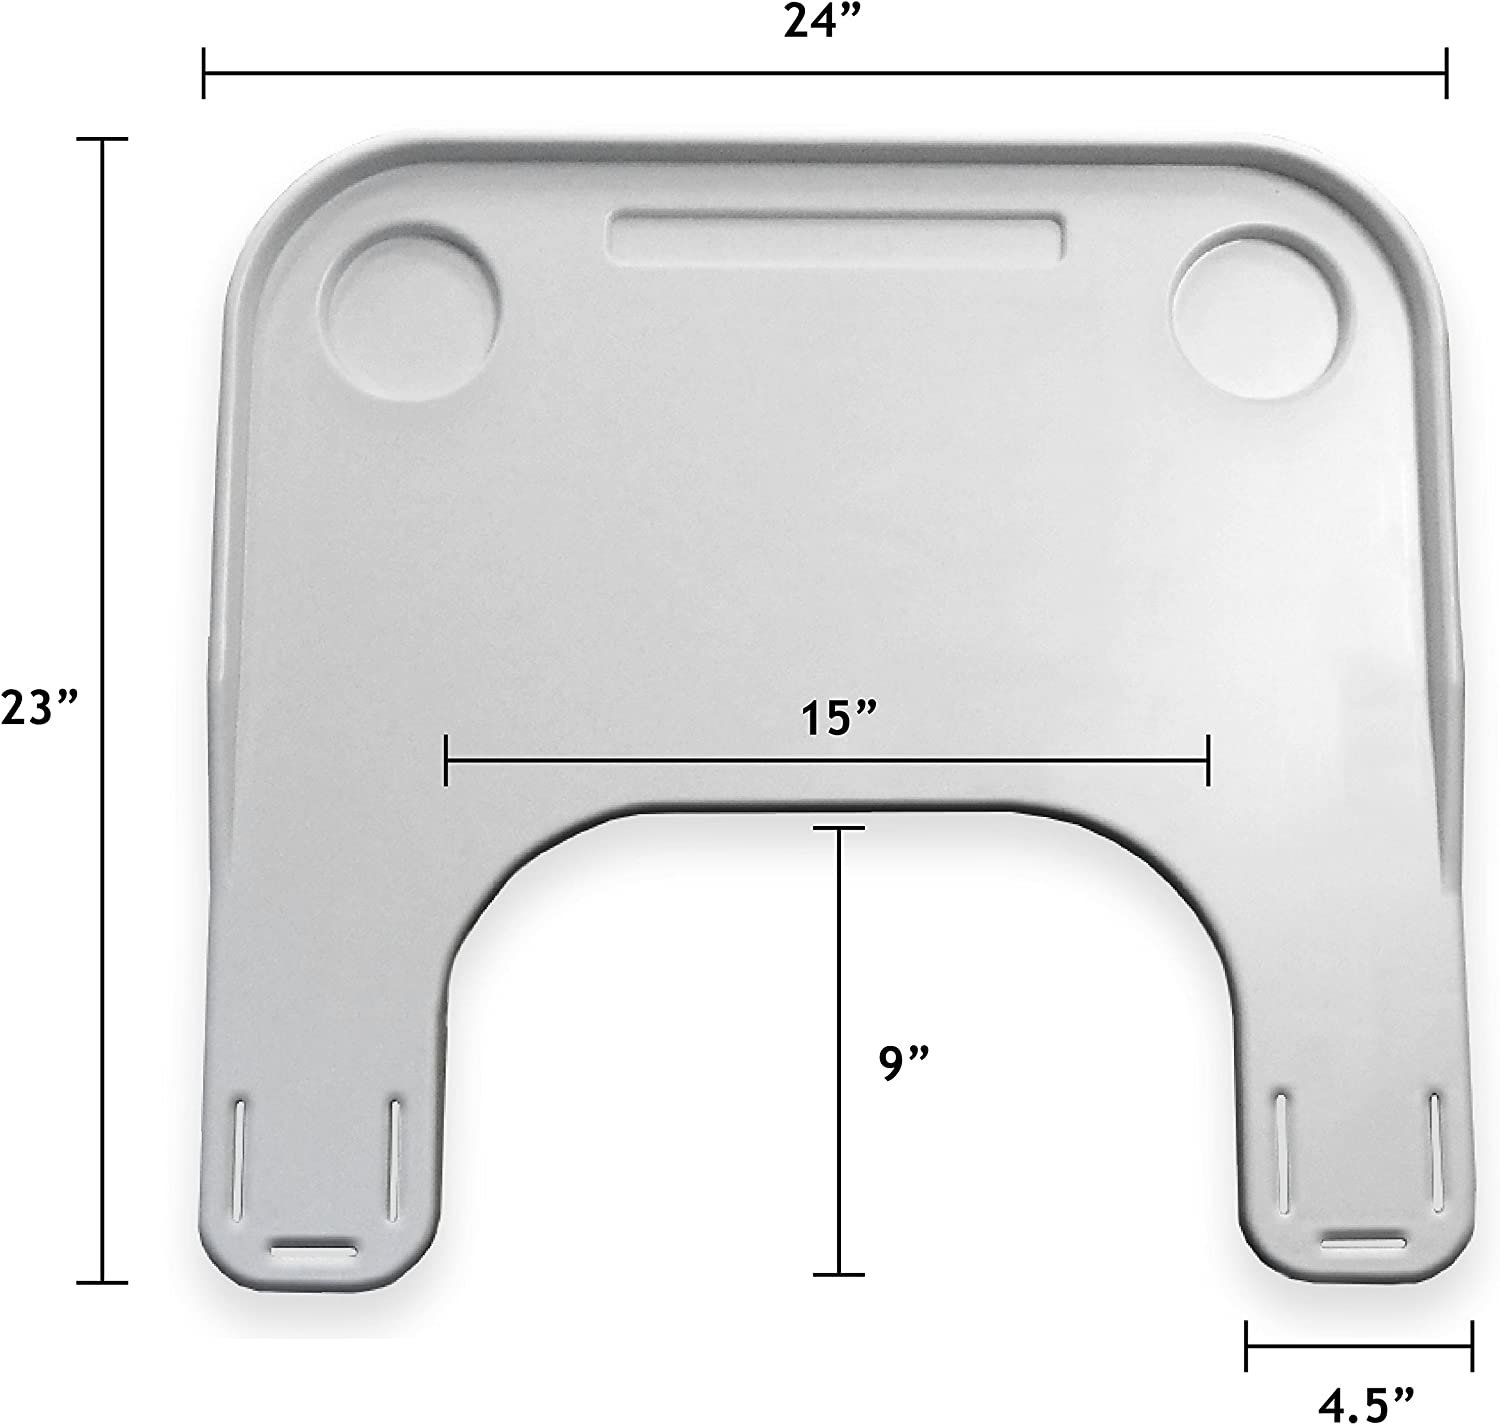
A typical example of adult-size tray dimensions.
Get to Work
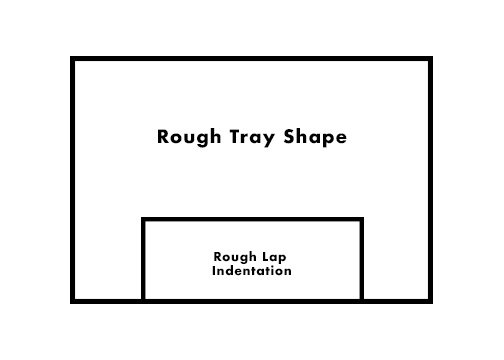
Go to your plywood and turn it to the side you want to be the underside. Use your carpenter’s square, tape measure, and pencil to mark out a large rectangle with your desired width and depth.

Now measure in from the bottom left and right corners the width of each “wing” where the velcro straps will attach, one on each side. Mark up from the bottom the depth of the lap indentation. You should now have a large rectangle drawn out with a smaller rectangle drawn inside it on the bottom.
Next, take your drafting compass and draw curved lines to round off each right angle of the tray. Use the examples for reference on the size of your curves.

Equip your jigsaw with your “fine” rated blade. Set up a workspace and carefully cut along the outline of your tray. You can use your carpenter’s square to help guide the side of the jigsaw to make straight lines.

Time to get out your tools.
Once your shape has been cut out, take your sandpaper and sand down the edges all the way around, as well as the sides and any rough cuts. You could also use a router tool round out all the edges, but you’re really just working to dull out all the right angles in the wood from your cutting. Take the sandpaper directly in your hands to get into tight corners.
The first of many coats of polyurethane.
Wipe off all the dust and use your plastic sheeting or garbage bag to protect an area where you will cover the piece in polyurethane. Water-based can be applied indoors and doesn’t have terrible fumes, so it’s ideal. I suggest using the liquid rather than the spray because I didn’t have any luck with the spray’s consistency or layer thickness, and brushing it on seemed to do the trick.
Follow the instructions on the can for application and dry time. Lightly sand between coats to even out the brush strokes. After 3 or 4 coats on both sides and the edges, bust out your paper bag. This is going to work as our ultra-fine sandpaper.
Use the paper bag to sand/buff down the finish until it’s smooth. Apply more layers with sanding in between if it still doesn’t feel smooth enough. In my experience, after lightly sanding between layers, I only had to use the paper bag sanding on the final layer–taking extra time on any rough trouble spots.
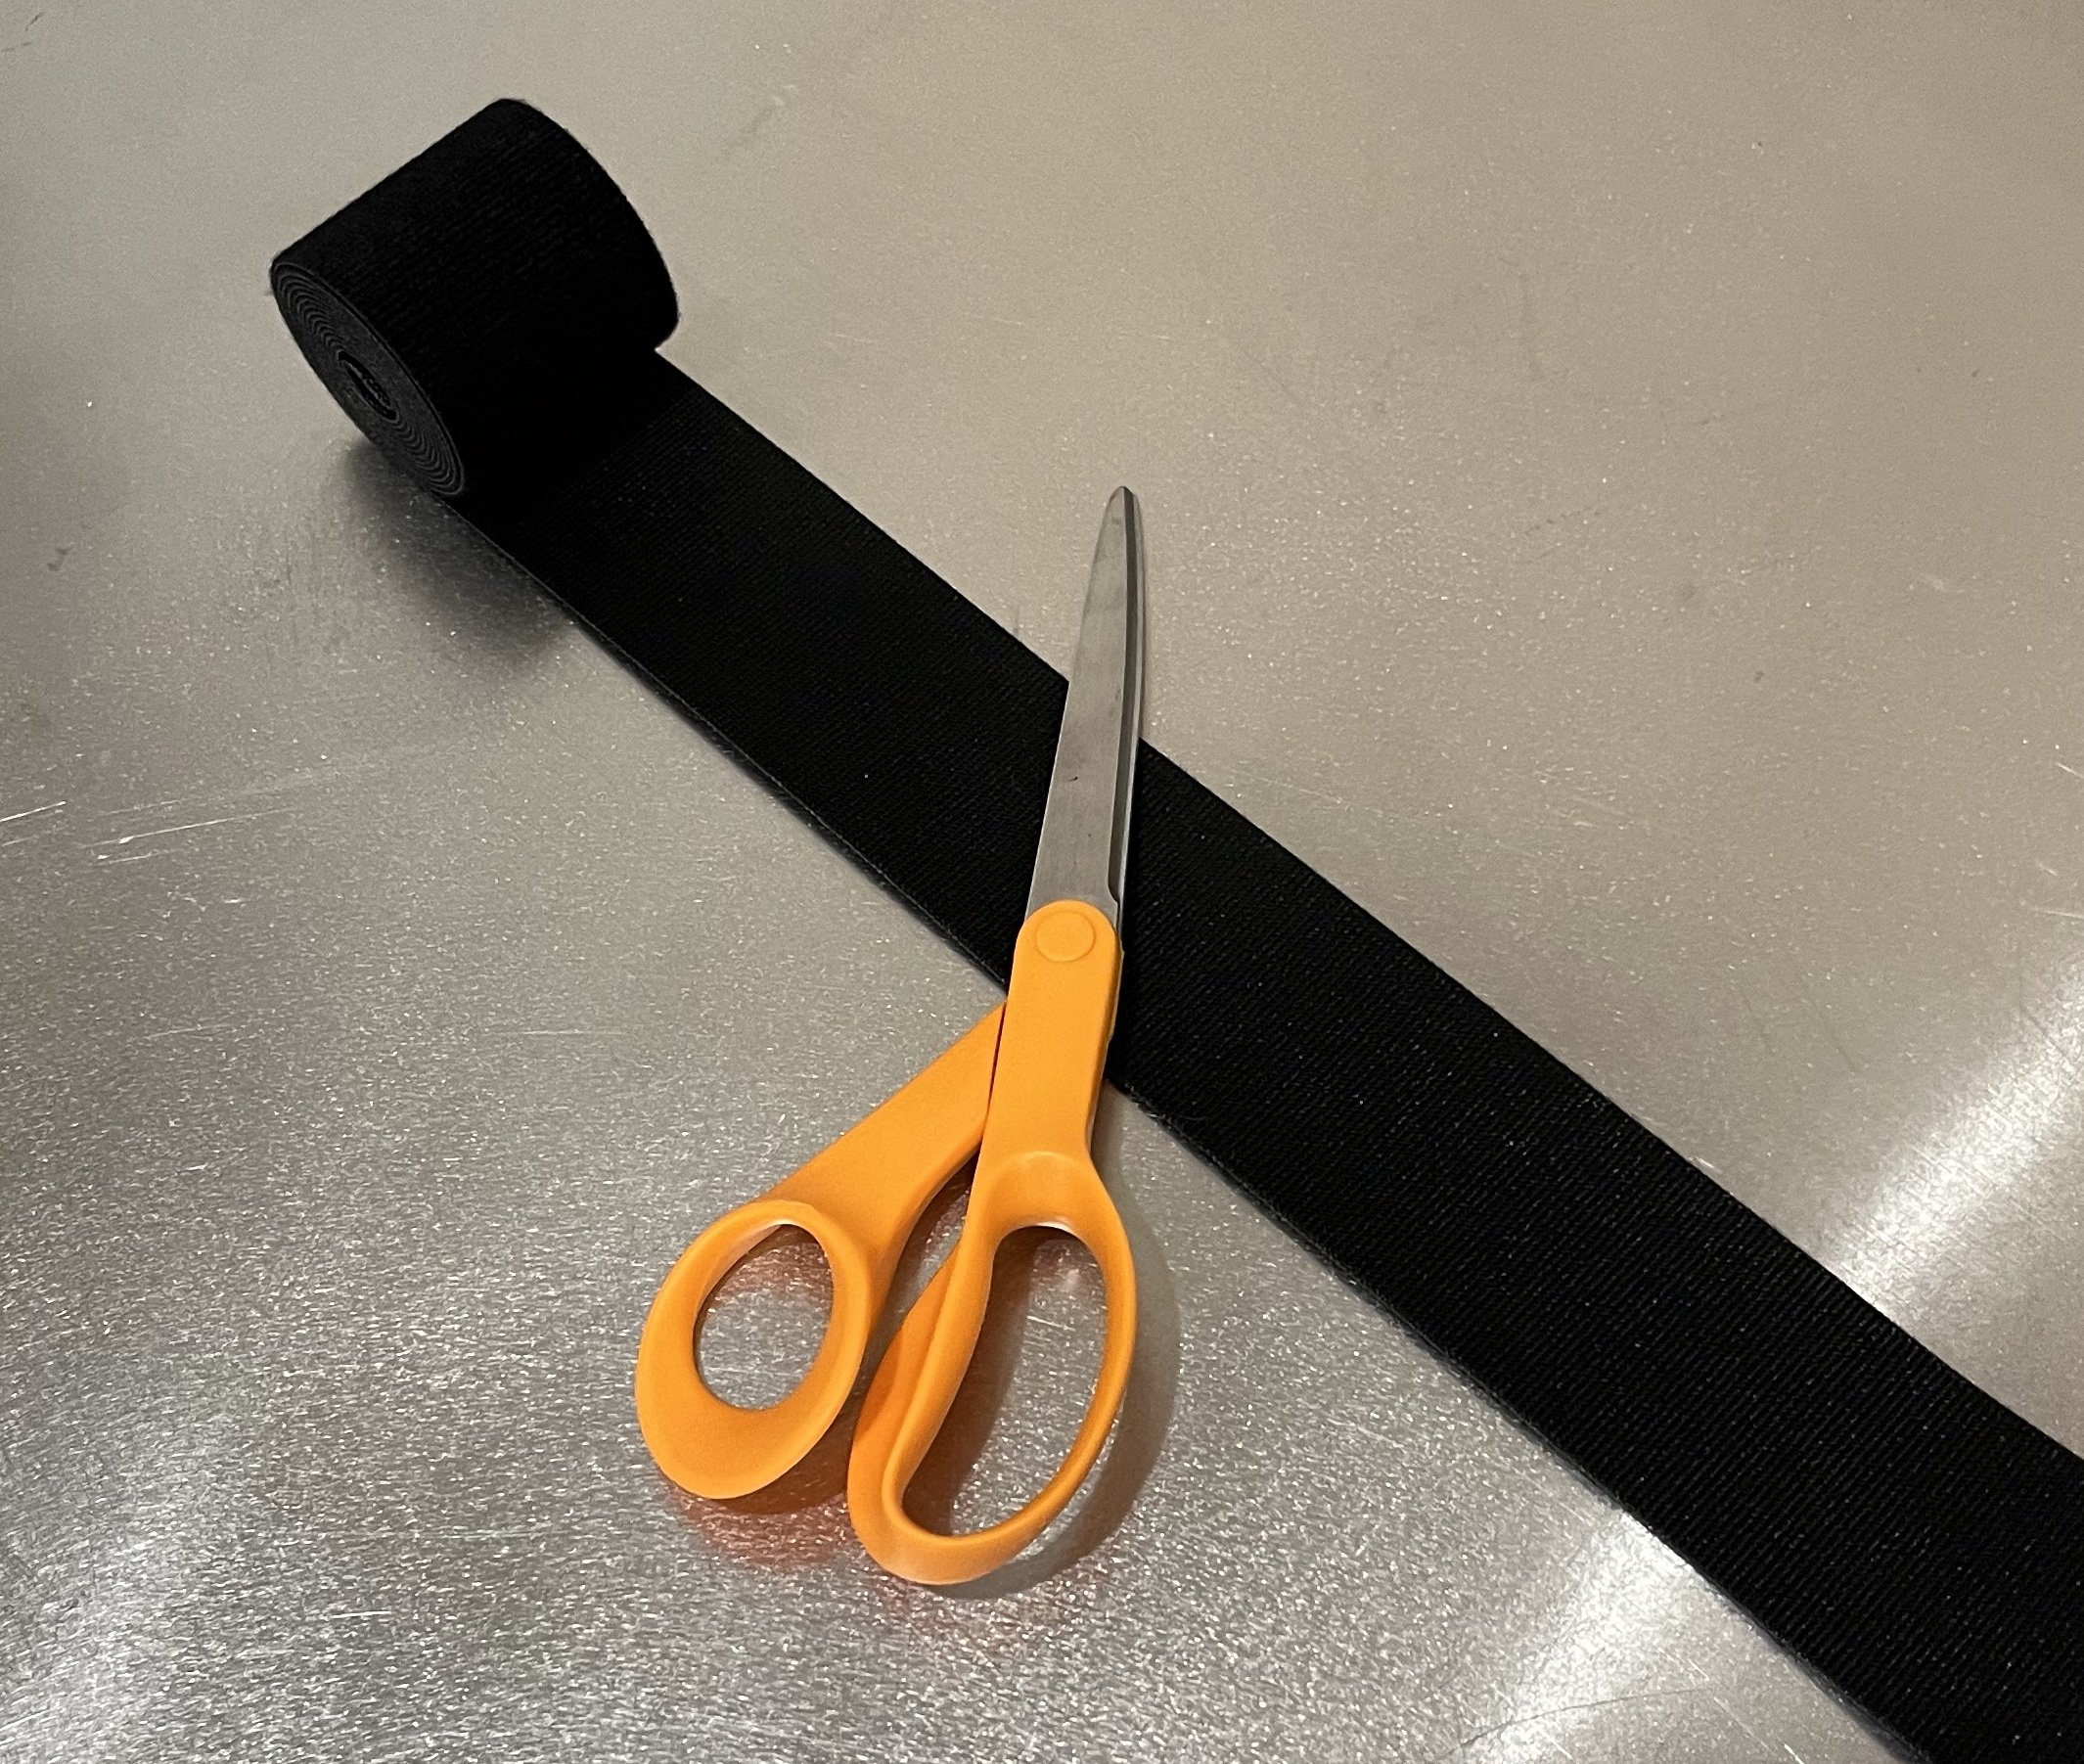
Time to make some straps.
Once you’re happy with the finish on your tray, you can move on to attaching the Velcro straps.
Cut two lengths of Velcro, 22-inches long each–one for each side of the tray.
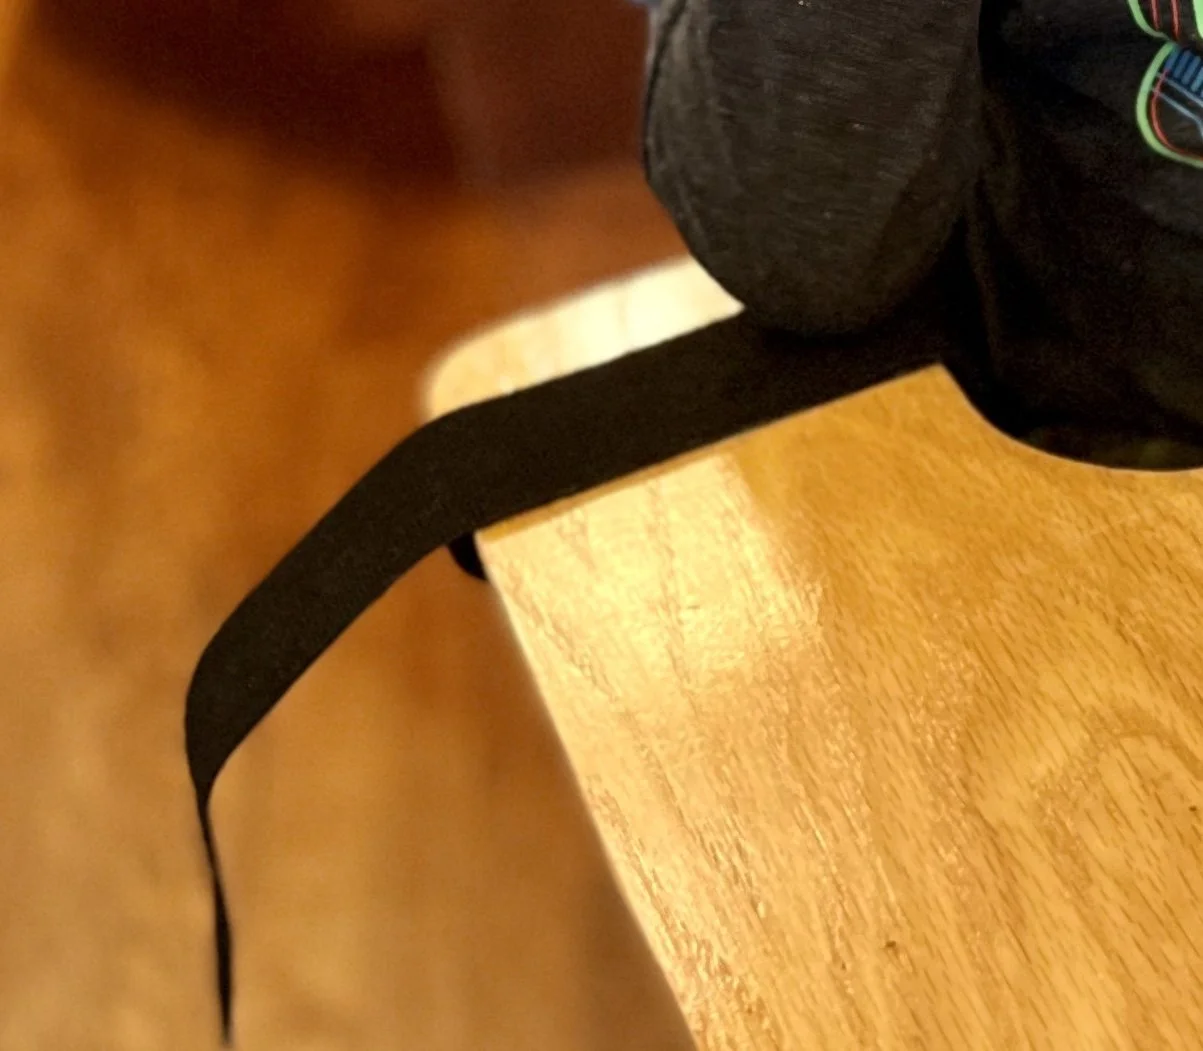
Take a piece of sandpaper and sand an area in the center of each “wing” on either side of the lap indentation to help your glue stick better.
Follow your glue’s instructions for application, making sure to bring the glue all the way up to all edges. Place each strap so that the slack runs to the outside. This way, it will be easier to find and run around each armrest, and the remaining slack will be facing away.
Give your glue plenty of time to dry. Some glues take up to 24 hours. Once it’s had a chance to harden, you can fasten any loose edges with gel glue or even a thin application of wood glue. The important thing is for the Velcro to have a strong anchor bond. The inside or outside edges may need occasional touch-ups if they start to come loose from wear and tear.

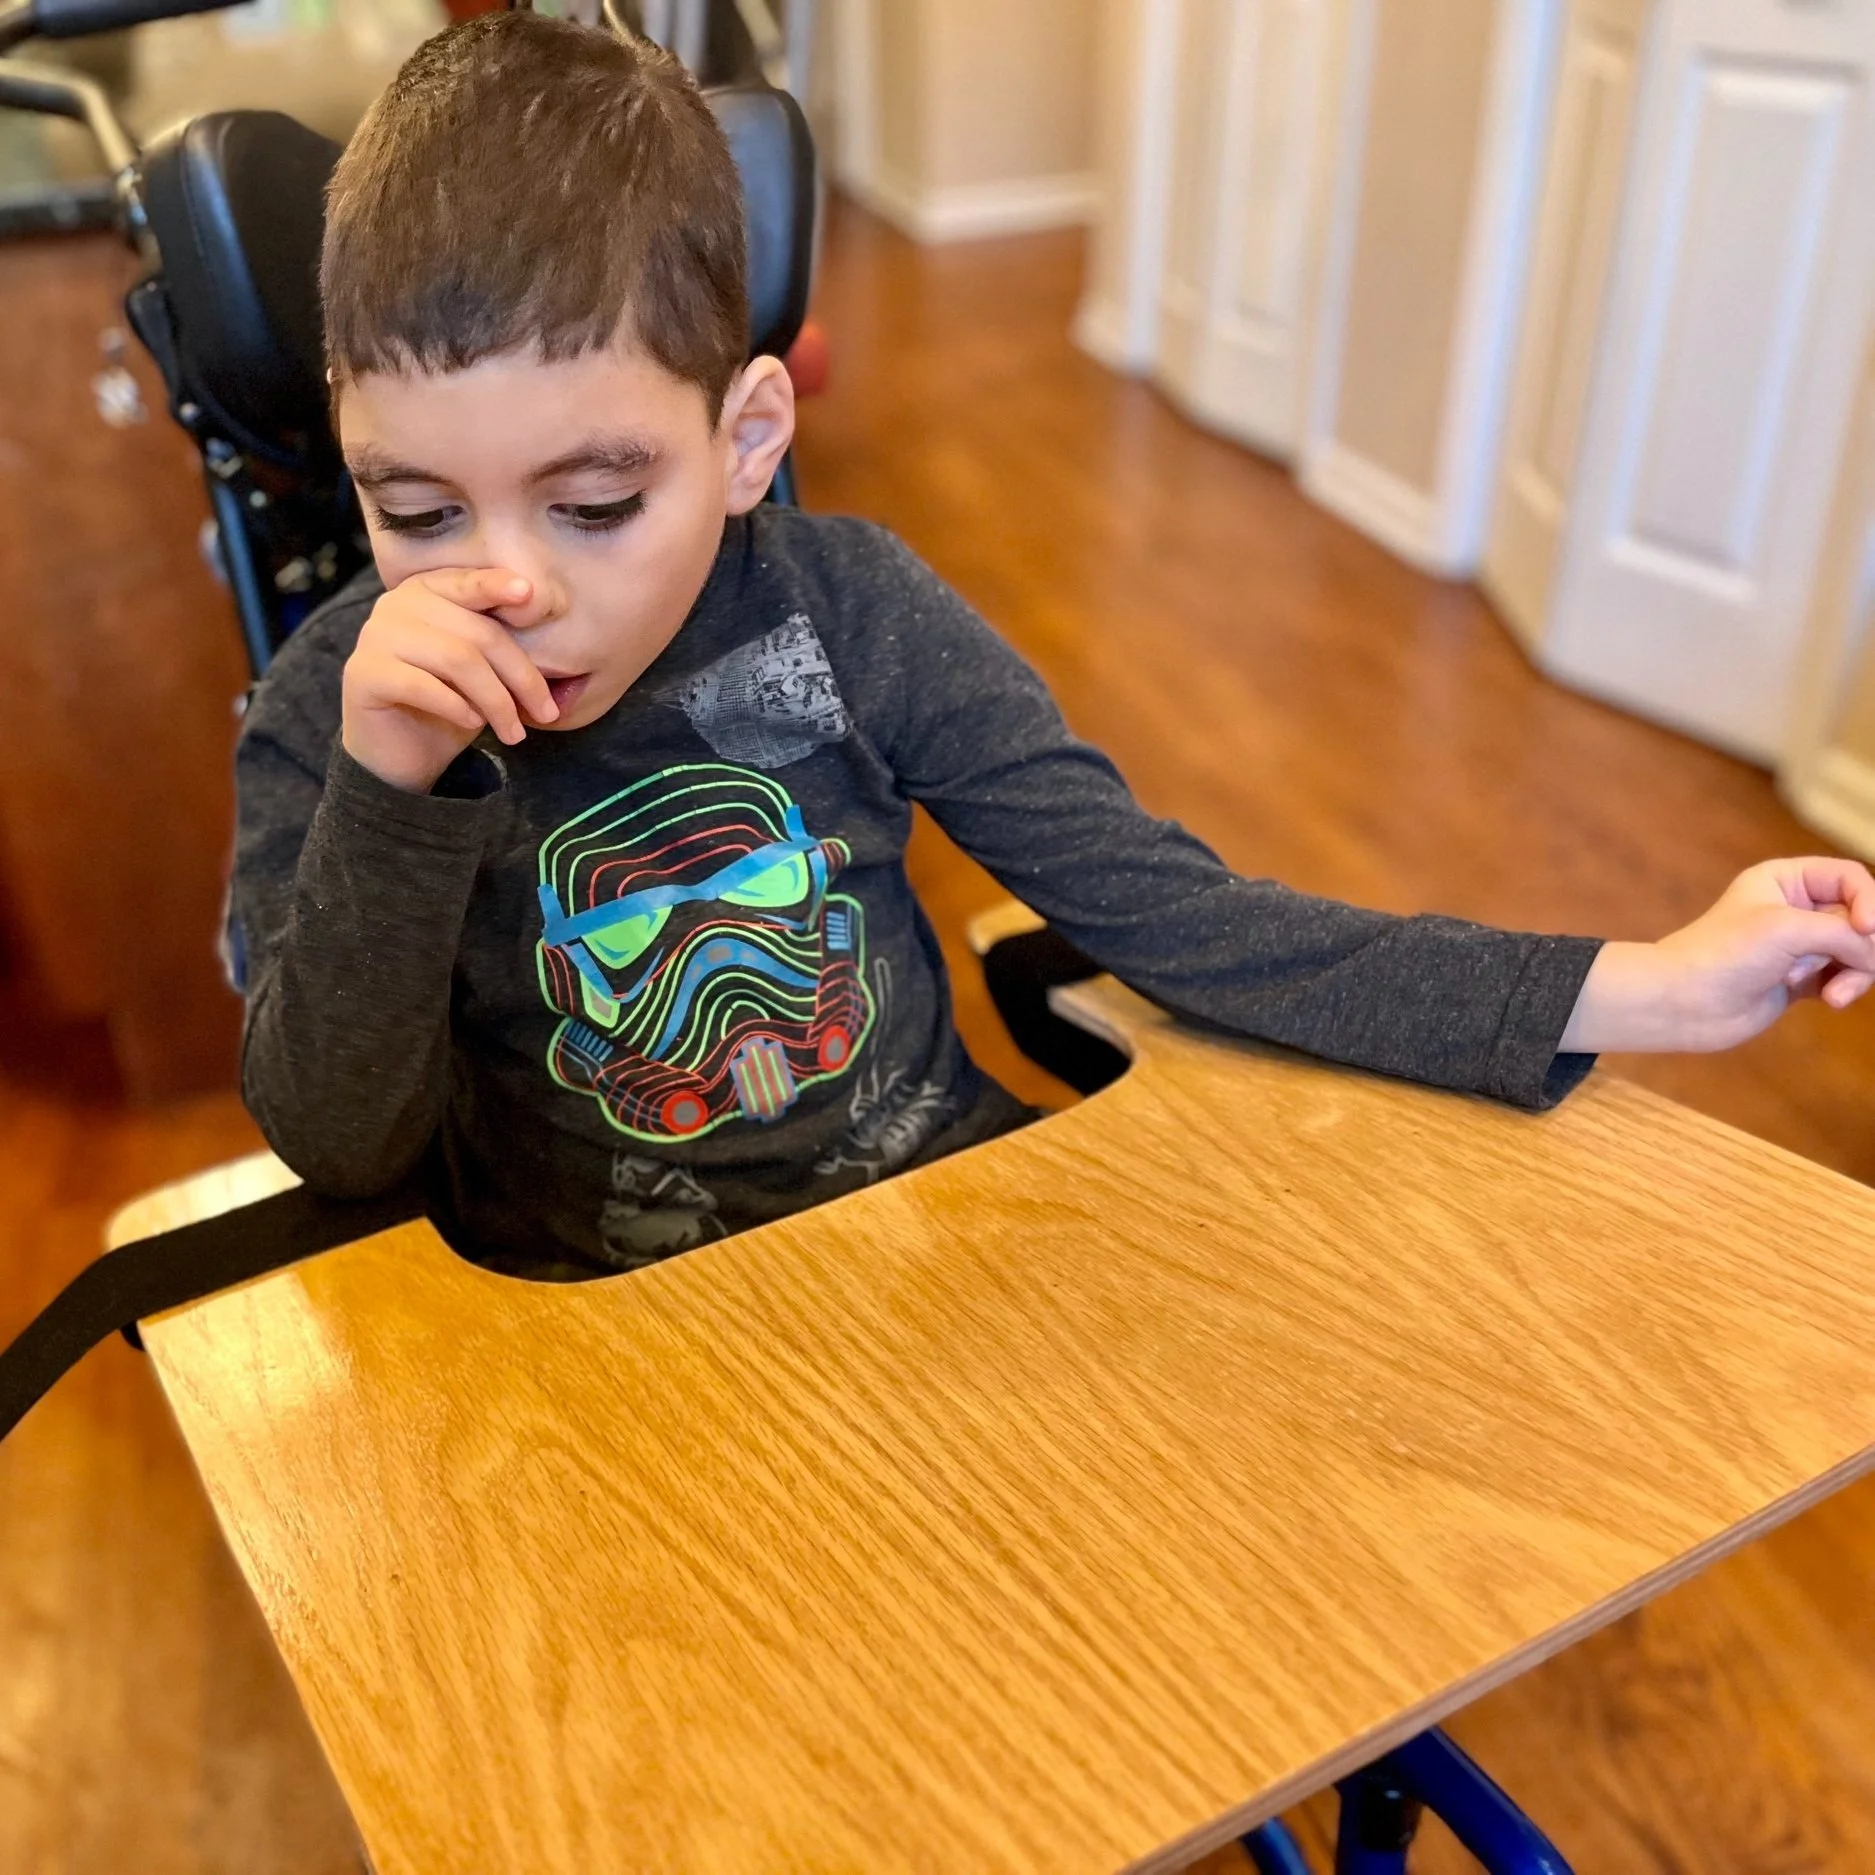
Enjoying the finished tray.
Beyond this basic design, you could add t-molding if you had the proper tools, or even add some pipe insulation around the edges for bumpers and to keep things from sliding off the sides of the tray. All-in-all, a useful, handy project.