Project: Wheelchair Blanket
When we try to find something specific to use with my son’s wheelchair, like a new wheelchair bag or a sun canopy, it’s a struggle to find something just-right. There are a lot of expensive options or there are some poorly-built options, but it’s difficult to get things that are affordable and work well. So I’ve spent a lot of time over the past few years learning to make things myself, from buckles for adaptive swings to my latest project–a blanket for my son’s legs that will actually stay there.
We used to have a zip-up sleeping bag sort of cover when my son was younger, but he’s long since outgrown that. I wanted something that would keep his legs warm and also do a couple of other important things. 1) Not get caught in the chair wheels every other block. 2) Not fall on the ground every block in between.
The solution that was a good fit for the warmth problem was to make a fleece foot pocket blanket. I found a very straightforward tutorial here, and I have to give credit where credit is due. Since I couldn’t possibly give the basic instructions for making a fleece foot pocket blanket any better than they do, I’ll start with their tutorial video to get us on the same page. After that, I’ll show how I changed their design to make a new blanket that did everything I wanted it to.
Ah–now that you’ve whetted your appetite for DIY blanket sewing, I shall move on.
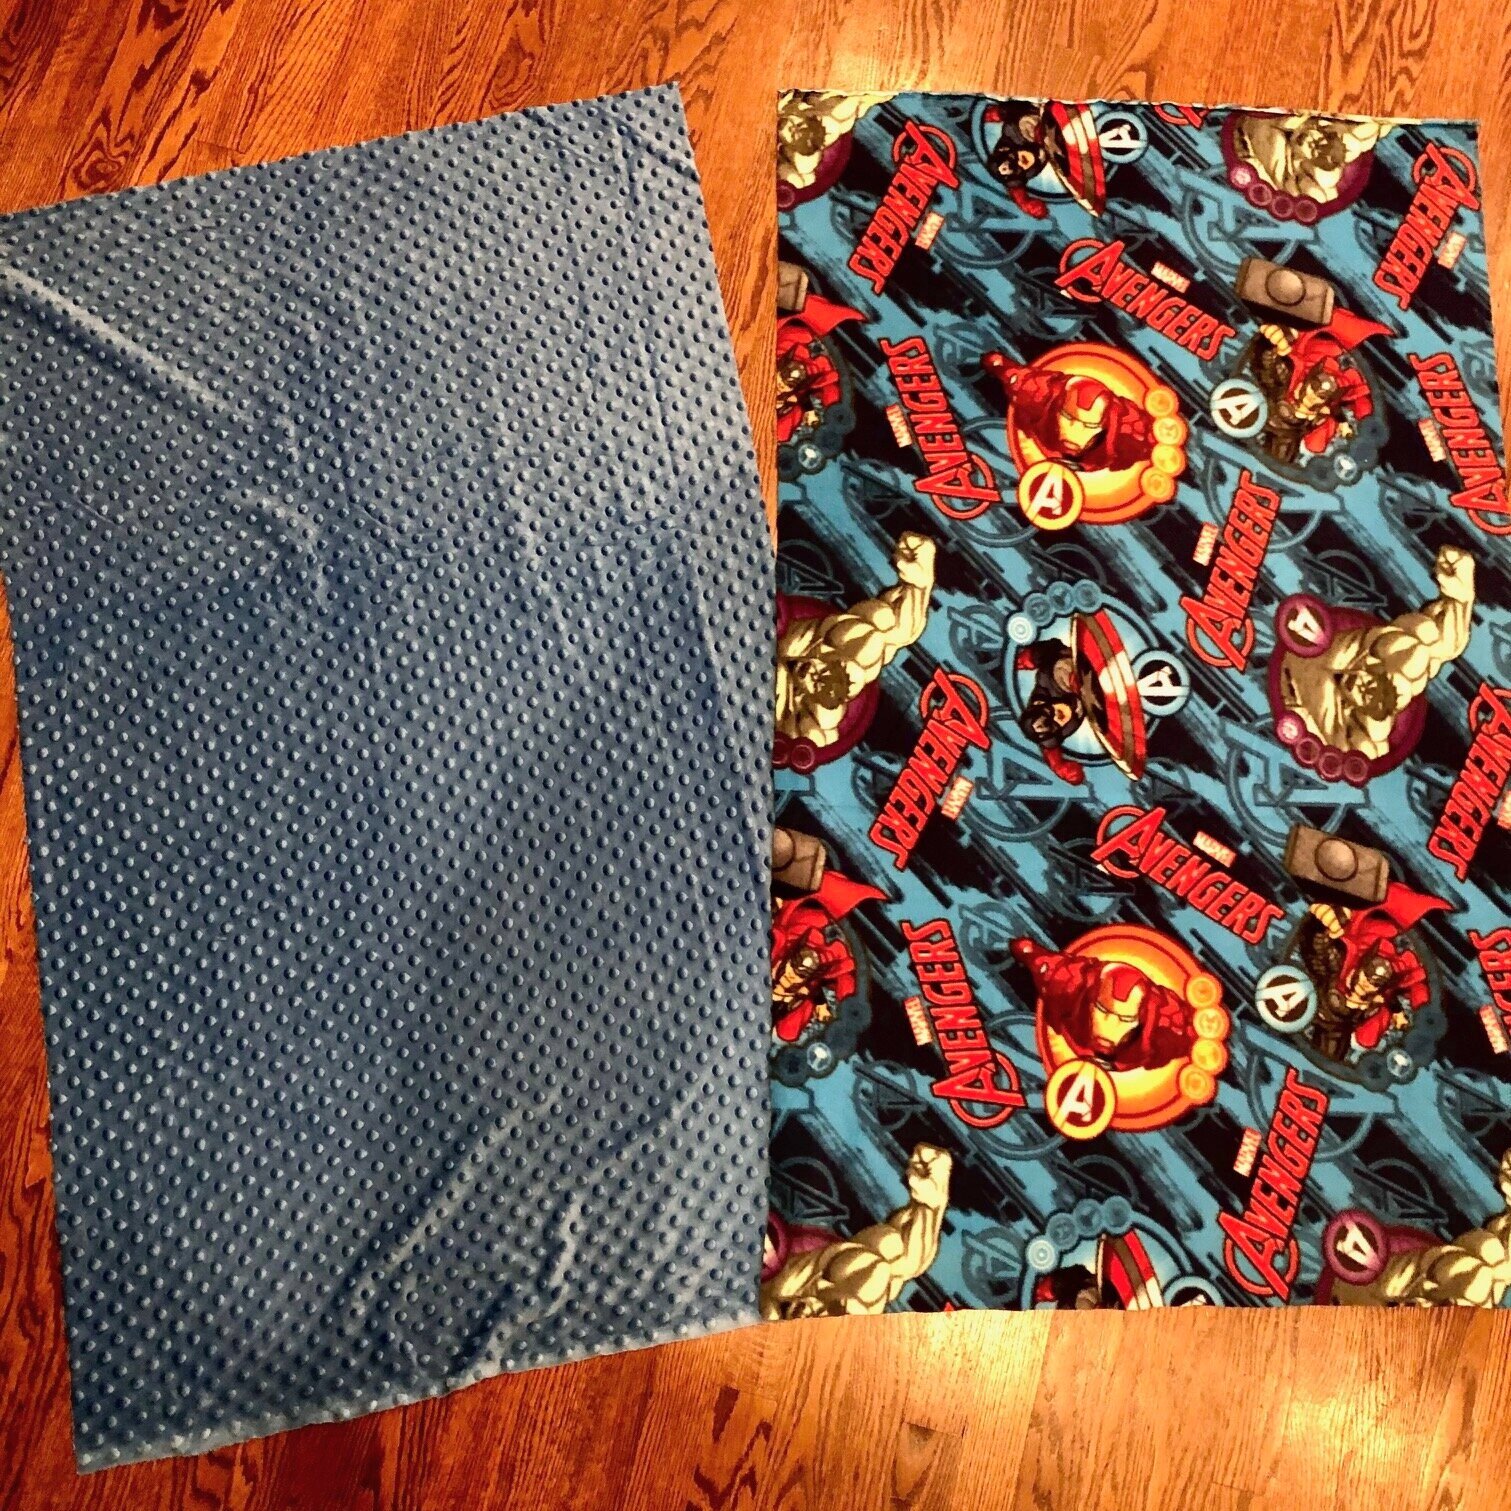
These pieces are made of what is commonly called “fabric.”
For the dimensions of this blanket that is not only for a child but also for use on a wheelchair, I went with 48” long by 30” wide, keeping in mind that 12” of that length will be doubled over for the foot pouch. If you’re making this for someone larger than a kindergartener, I would just grab a blanket from around the house and size it up by draping yourself or whoever is in the chair and tucking the blanket under the feet. The width of my cloth is a couple inches wider than the chair width.

3/4” elastic band and 3/4” inch sew-on one-piece velcro.
To make sure the blanket stays put on the chair, I also added elastic and Velcro to create a loop on either side of the top of the blanket that can meet and attach around the wheelchair frame to stay put. I used 3/4” elastic and 3/4” velcro. This velcro was a one-piece design where you don’t need a separate hook section and a fuzzy section. There are both materials on the entire piece so it will still attach when you push the Velcro pieces together.

My work table is the floor.
After lining up the fabric pieces right sides together, I secured them with binder clips (when I used pins, they just slipped out). I then cut four pieces of elastic 12 inches long each. I eventually shortened one length on each loop to 6 inches, so each loop is made of one 12-inch piece of elastic and one 6-inch piece, but like myself, you may want to make both ends long and wait until you try it on the chair before you shorten anything.

Clipping the straps inside.
Then I measured 6.5 inches from what I decided was the top of the blanket, lined up each pair of elastic bands one on top of the other, and tucked them inside–lining up the outer edges with the outer edge of the fabric. I put a binder clip on top of each set of stacked straps to keep them in place.
Next, you take this collection of inside-out blanket-ness and go to the sewing machine as in the video. Though I will give you a helpful hint–start and end on the side you want to be the bottom. You’re going to leave a small area open for turning right-side out anyway, but I suggest doing this because if you make a mistake with sizes or sewing or whatever, and let’s say you don’t realize the problem until the very end, it’ll be better to sew up some kind of solution where the blanket will be tucked out of sight when it’s finished.

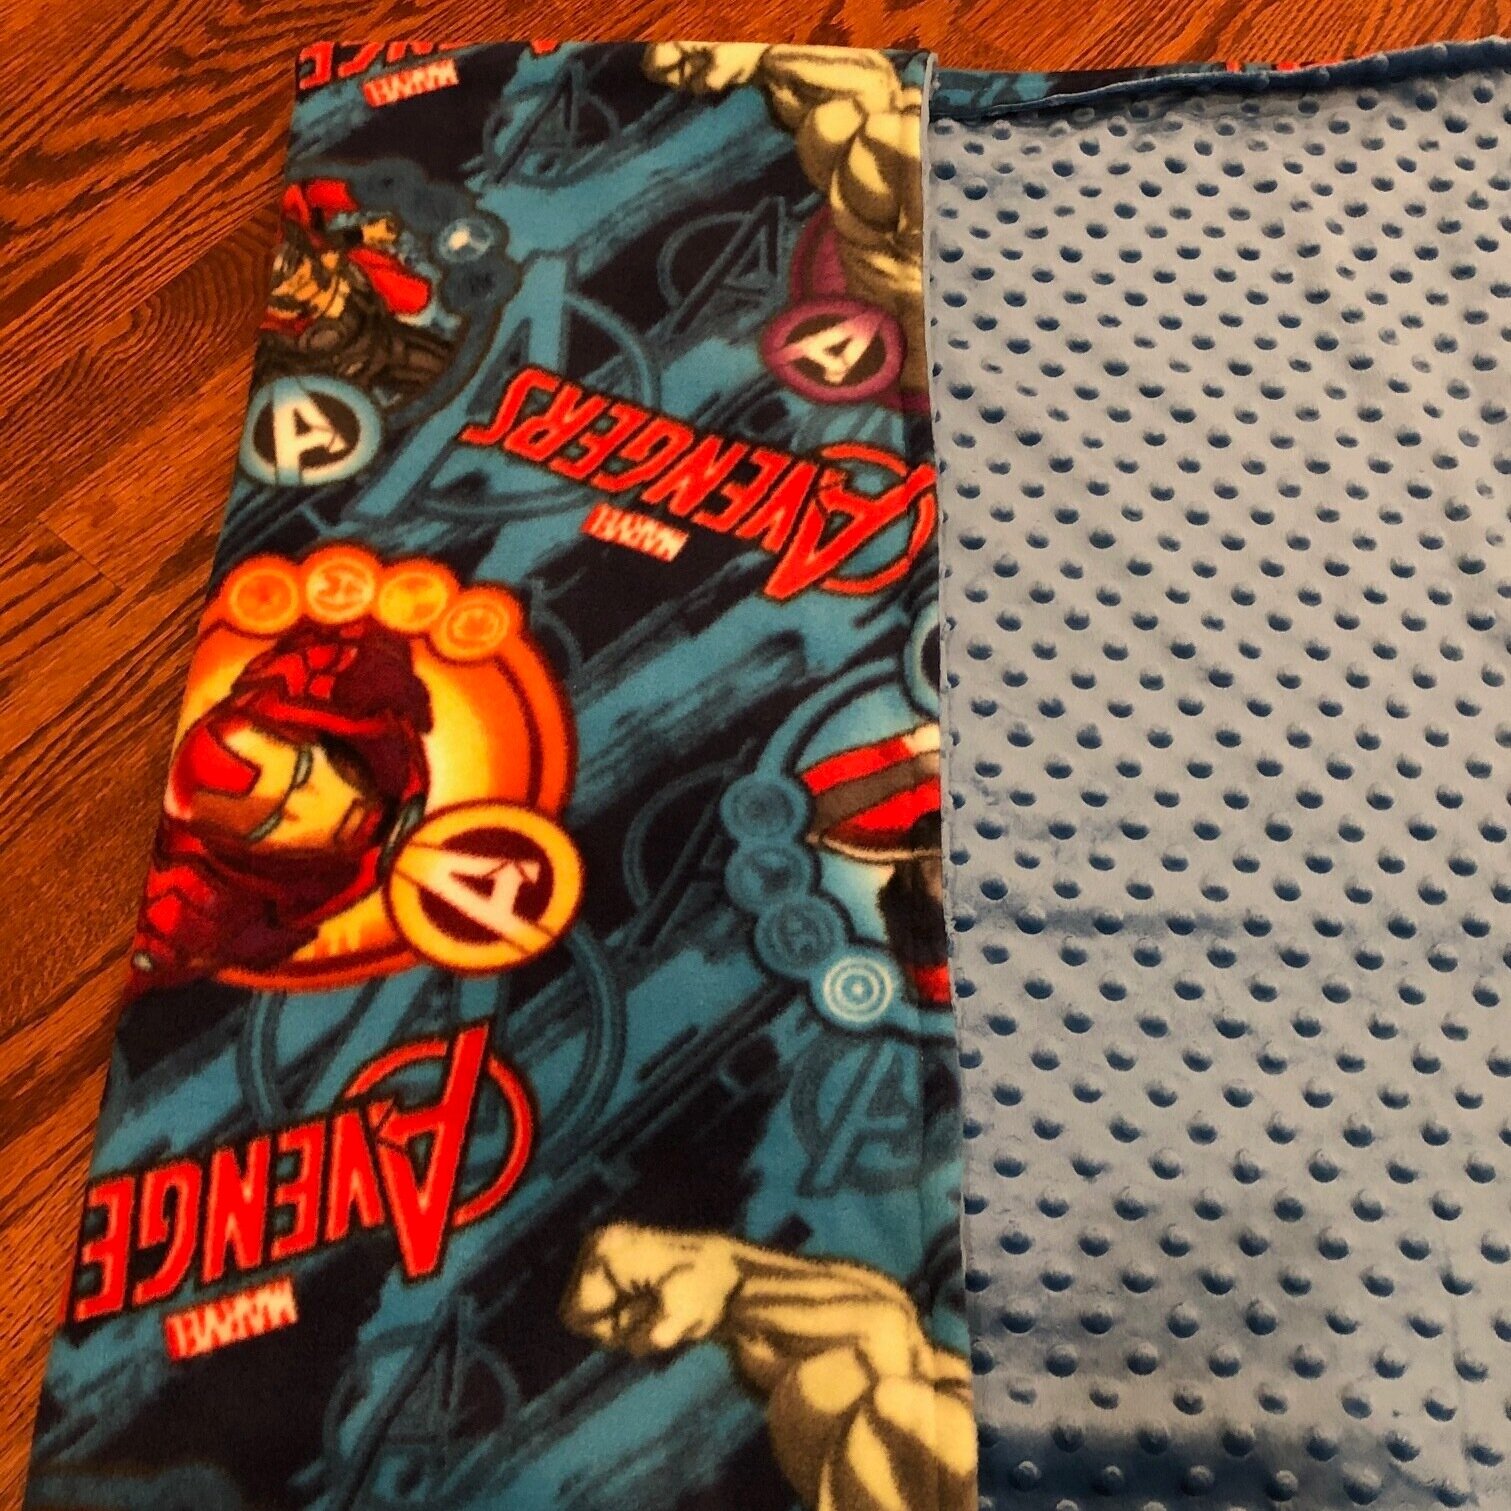
Now it’s looking like something.
Once you sew around like in the video and you’ve left a small un-sewn area, turn it all inside-out and you have a halfway decent looking blanket already, complete with elastic bands poking out either side of the top. As the video instructs, you now have to sew around the outside of the blanket again to seal it all up. Now it’s time for a pocket.

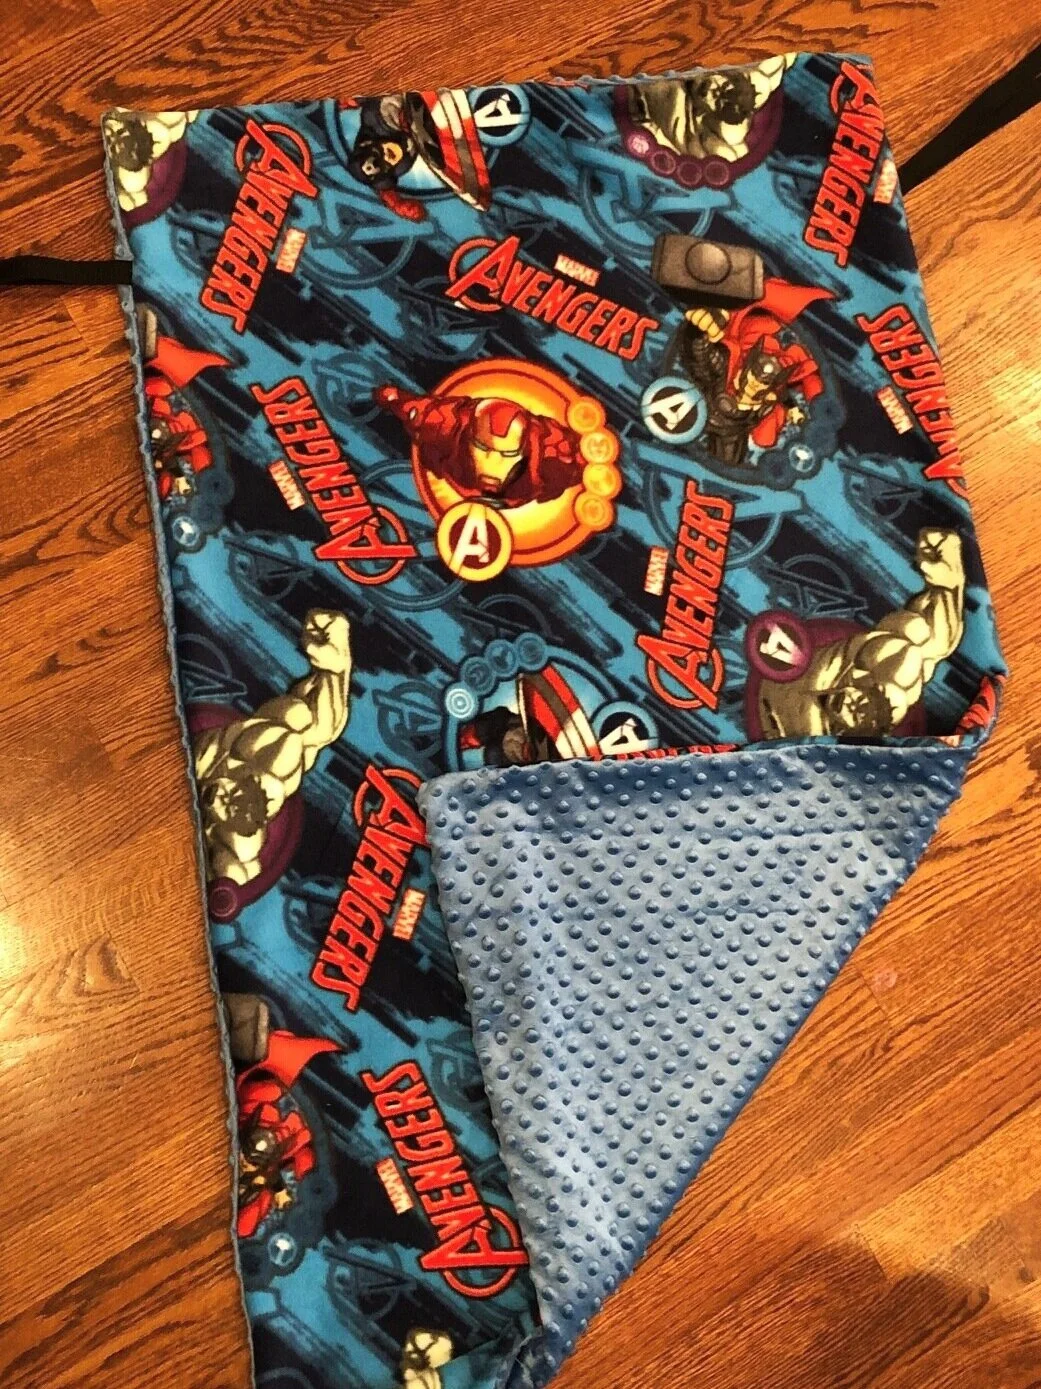
I decided to make my pocket 12 inches. Like the video says, I folded the bottom of the blanket (we can already call it a blanket!) with the outsides touching each other, then I sewed each side. When it was done, I turned the pocket right side out. It is now a functional foot pocket blanket!

Elastic in a never-ending loop.
I took my creation to my son’s wheelchair and tested out the loops for length. I decided that there was too much slack and it was easier to keep one length of the pair of straps for each loop at 12 inches and shorten the other piece of elastic by half. I did this for both sides. I went back to the sewing machine and switched out my thread for black thread, then I sewed about half the length of the shorter pieces with Velcro on the outside, and about twice that length if not more on the inside of the longer piece. I wanted the ability to go from very tight to very loose so we had the option of using the blanket for longer and on different chairs in the future.

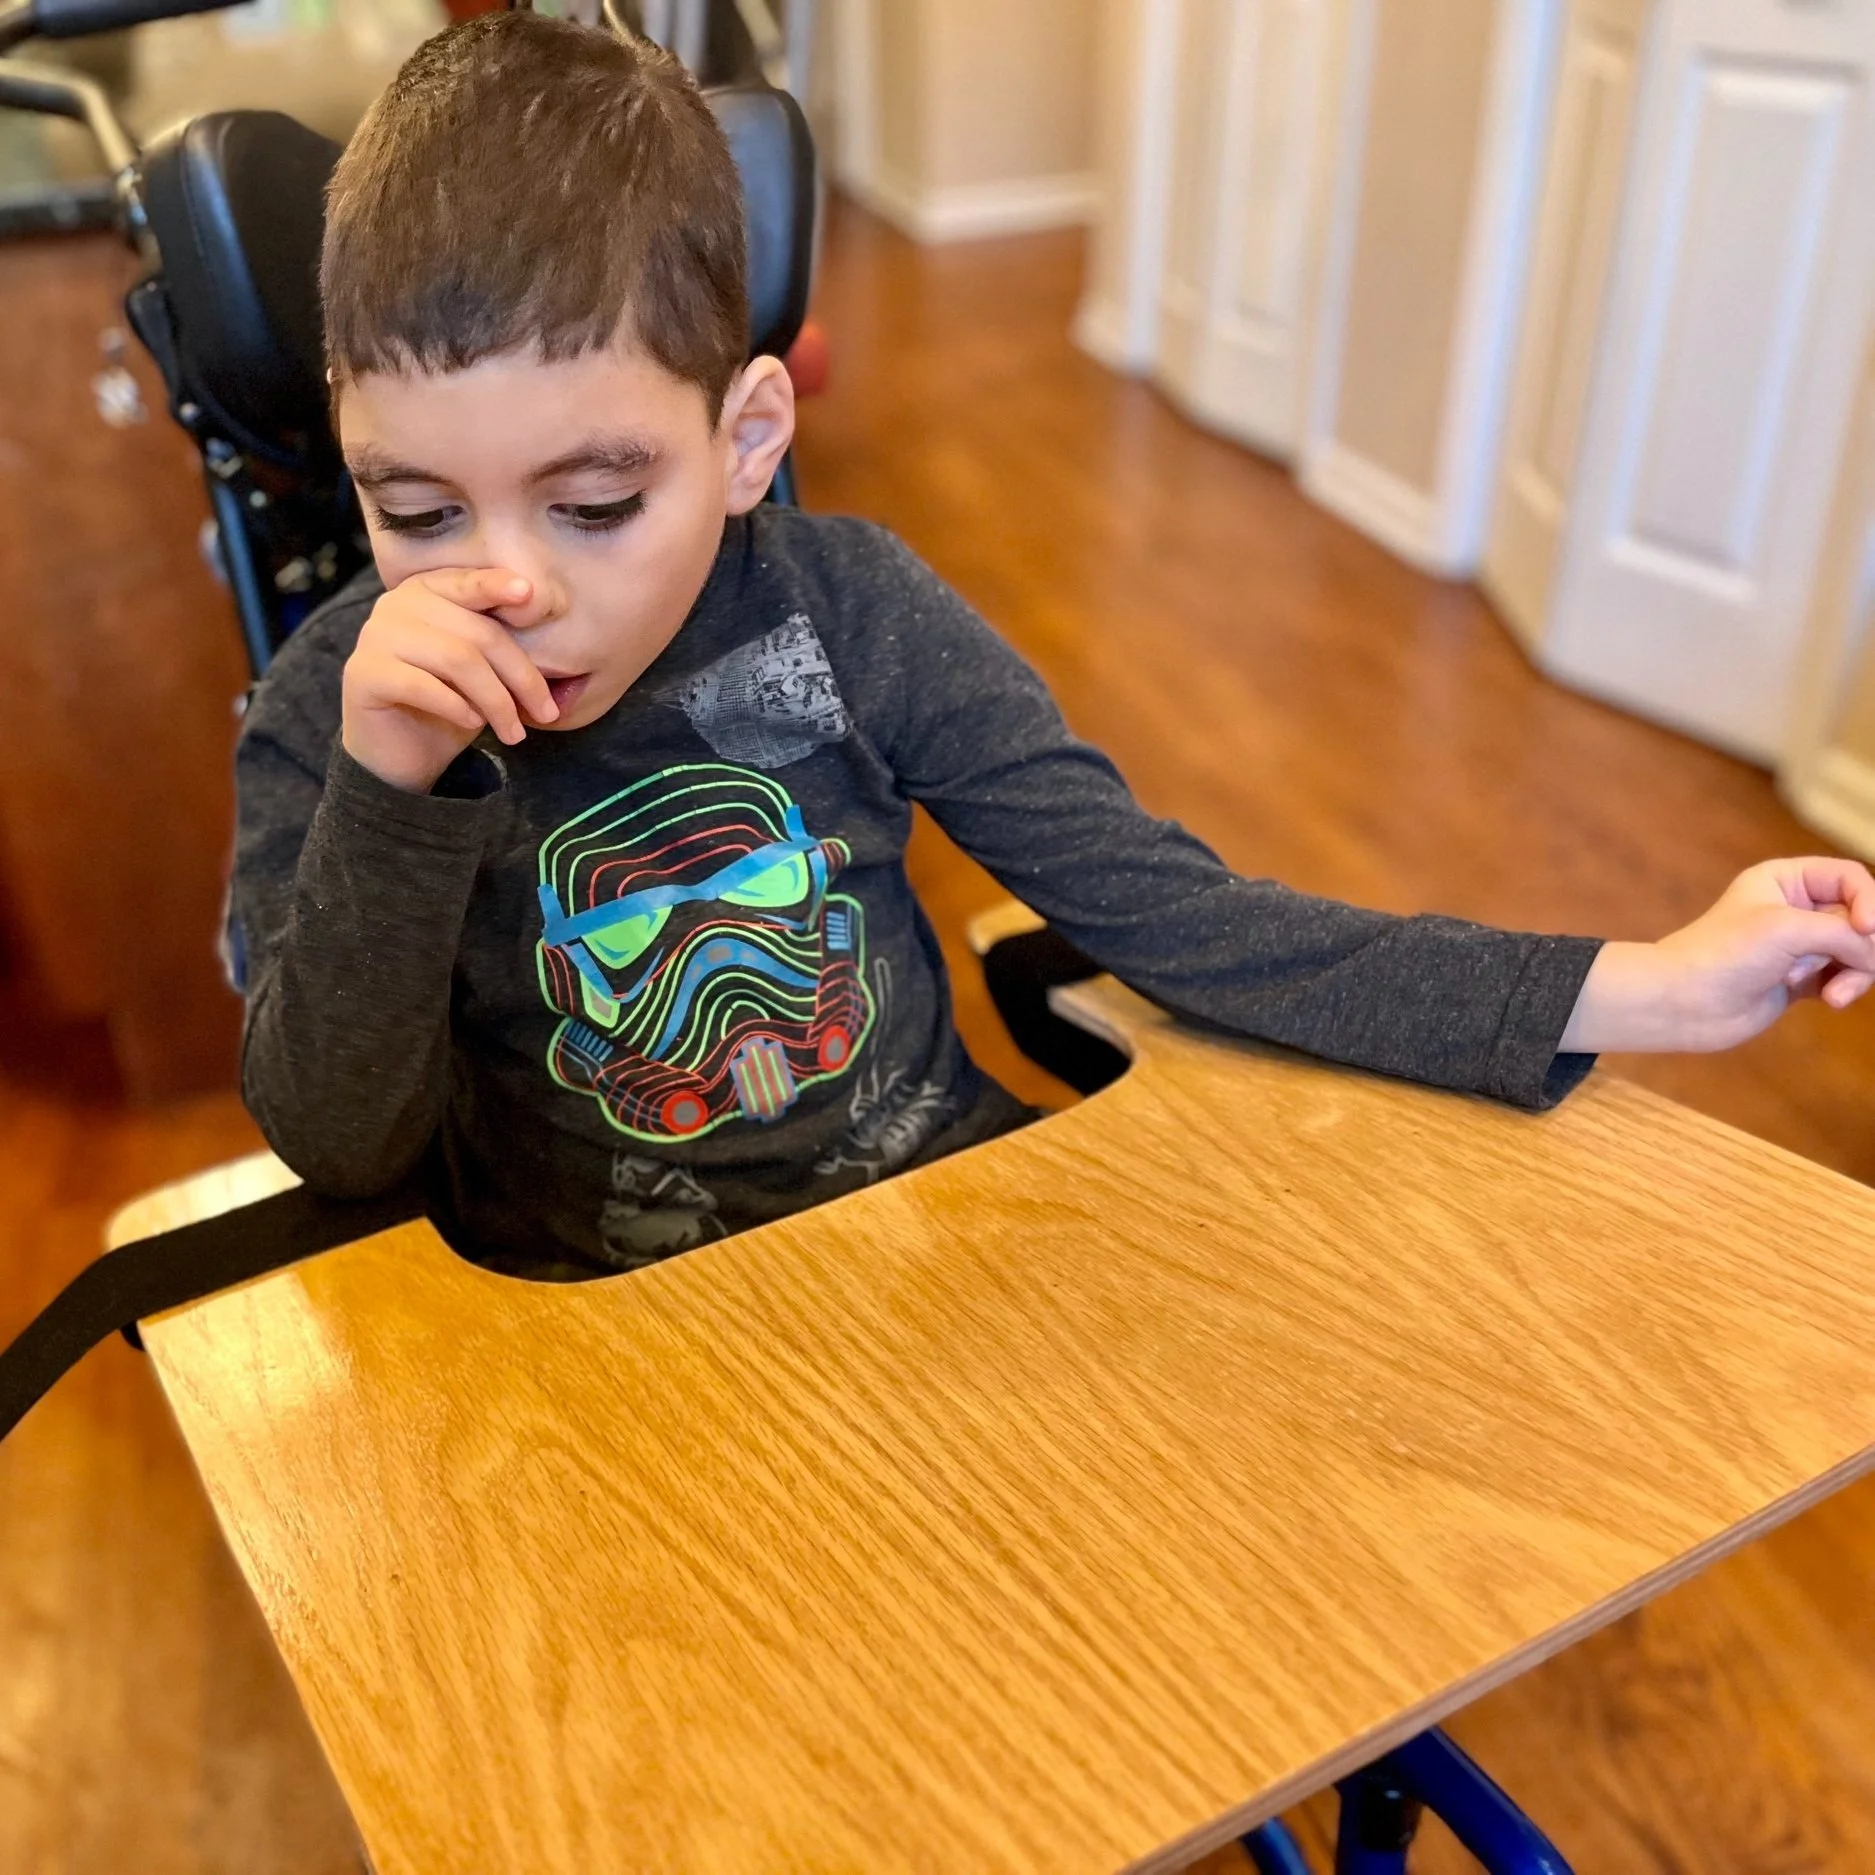
My son defying all requests to smile.
And the final result is a fleece blanket with a pocket for the feet and straps to attach to the frame of the wheelchair so the blanket doesn’t get dirty on the ground or stuck in the wheels. A happy day for all!